Hey there, fellow yarn enthusiasts and Super Mario fans! Get ready to power up your crafting game because we’re diving headfirst into a world of pixelated fun with these fantastic free crochet patterns inspired by the iconic Super Mario universe. Imagine bringing your favorite characters and power-ups to life, stitch by stitch – think adorable amigurumi Mario mushrooms, a cute little Yoshi, or even a Super Star that’s perfect for brightening up any room!
These projects are wonderfully suited for crocheters of all levels, from curious beginners eager to learn new techniques like simple shaping and color changes, to seasoned pros looking for a playful project. They make the most heartwarming handmade gifts for the gamers in your life, or can be a delightful way to add a touch of nostalgia and whimsy to your own home decor. So grab your hook and some colorful yarn, and let’s embark on this adventure together!
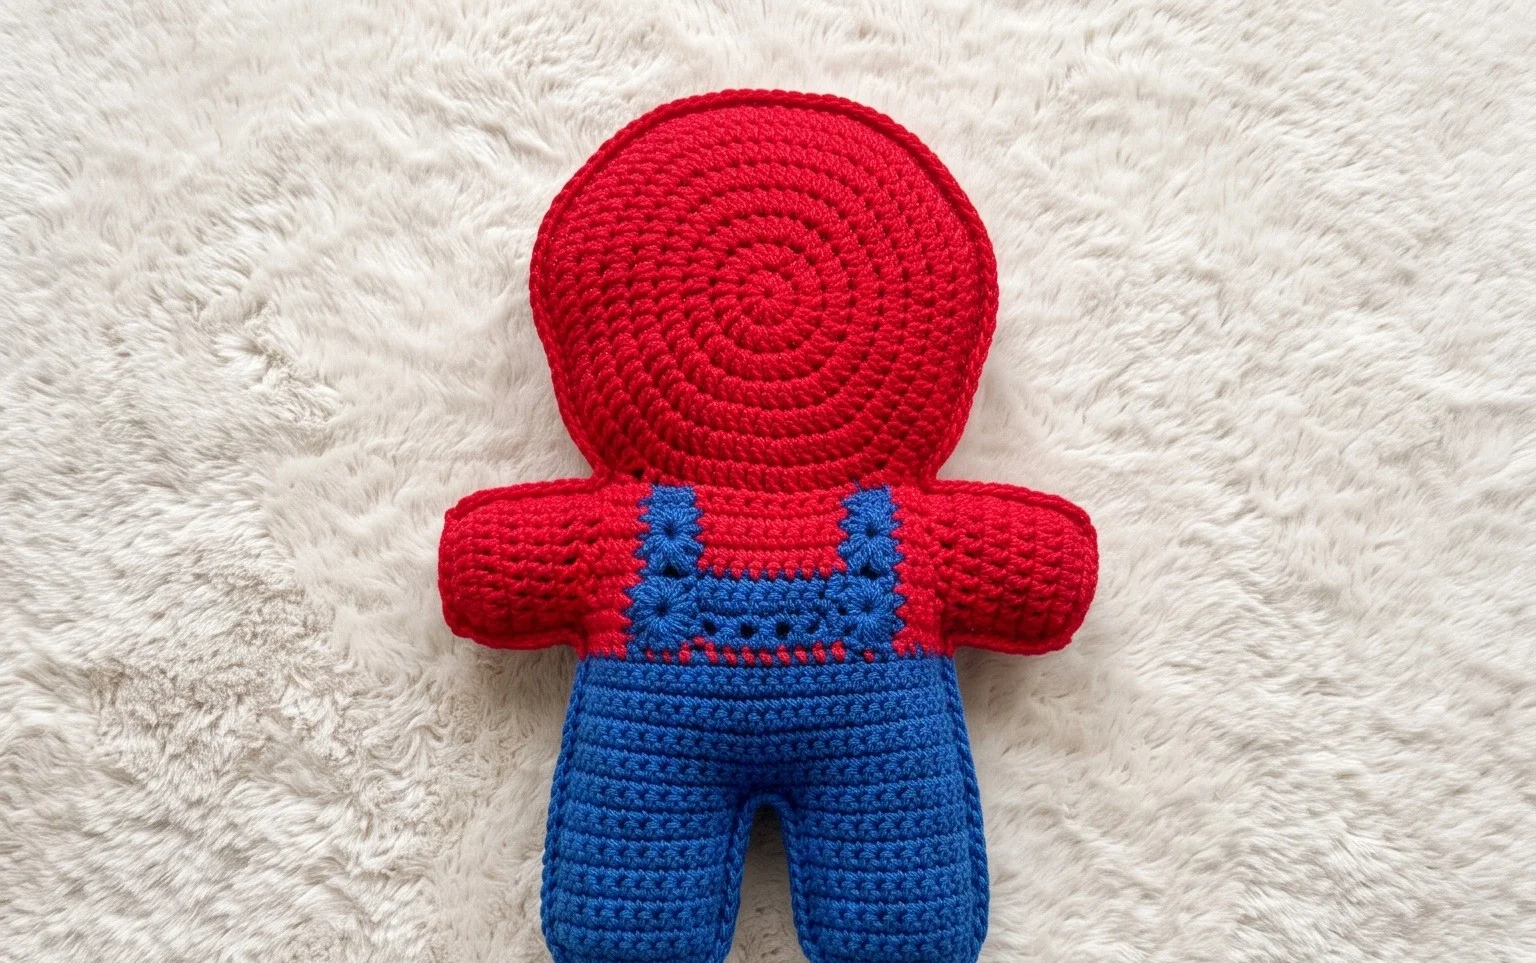
It’s time to power up your crochet skills and dive into the Mushroom Kingdom with these fantastic Super Mario Game Fan Free Crochet Patterns! Whether you’re a seasoned crocheter or just starting to unravel the yarn, these patterns offer a delightful way to celebrate one of the most iconic video game franchises of all time. Imagine crocheting your very own amigurumi Yoshi, a cozy Mario mushroom beanie, or perhaps even a set of question block coasters. The possibilities are as vast as Hyrule itself! Let’s get crafting!
Unleashing Your Inner Mario: Yarn and Hook Recommendations
Choosing the right yarn and hook is the foundation of any successful crochet project, and these Super Mario patterns are no exception. For amigurumi characters and plushies, you’ll generally want to opt for worsted weight acrylic yarn. Acrylic is a fantastic choice because it’s durable, easy to wash (crucial for beloved toys!), comes in a vibrant spectrum of colors, and is budget-friendly. Think bright reds, blues, yellows, and greens to truly capture the essence of Mario’s world.
For specific characters, consider these color palettes:
When it comes to hooks, the recommended size will often be printed on your yarn label, usually ranging from 4mm (G/6) to 5.5mm (I/9) for worsted weight yarn. However, for amigurumi, many crocheters prefer to go down a hook size (e.g., a 3.5mm or 4mm hook with worsted weight yarn). This creates a tighter fabric, which is essential for preventing stuffing from peeking through your stitches and giving your creations a more polished, professional look. Always do a small gauge swatch to see how your chosen yarn and hook work together.
Mastering the Magic: Stitch Techniques Used
These Super Mario patterns often rely on a few fundamental crochet stitches that, once mastered, open up a world of possibilities. Don’t let these terms intimidate you; they’re the building blocks of your crochet creations!
Tips for Beginners: Don’t Be Scared of the Blocks!
If you’re new to the crochet scene, these Super Mario patterns are a fantastic starting point! Here are some tips to help you conquer your first Mushroom Kingdom masterpiece:
Power-Up Your Creations: How to Customize
The beauty of crochet is its inherent adaptability! You can easily personalize these Super Mario patterns to make them uniquely yours.
Color Palettes and Variations
Adjusting Sizes
While these free patterns are often designed for a specific yarn weight and hook size, you can generally adjust the size of your finished piece by:
Be aware that changing yarn weights and hook sizes might require slight adjustments to the stitch count in certain rounds to maintain the intended shape. If you’re aiming for a specific size, consider looking for patterns that offer size variations or are specifically designed for different yarn weights.
Keeping Your Power-Ups Pristine: Care Instructions
Once your Super Mario creations are complete, you’ll want to keep them looking their best.
Beyond the Plushie: Project Ideas Galore!
While amigurumi characters are a popular choice, these Super Mario crochet patterns can inspire a multitude of other wonderful projects!
So, grab your hook, gather your yarn, and get ready to embark on a crafting adventure through the Mushroom Kingdom. These Super Mario Game Fan Free Crochet Patterns are more than just patterns; they’re an invitation to bring your favorite characters and elements to life, stitch by delightful stitch! Happy crocheting!
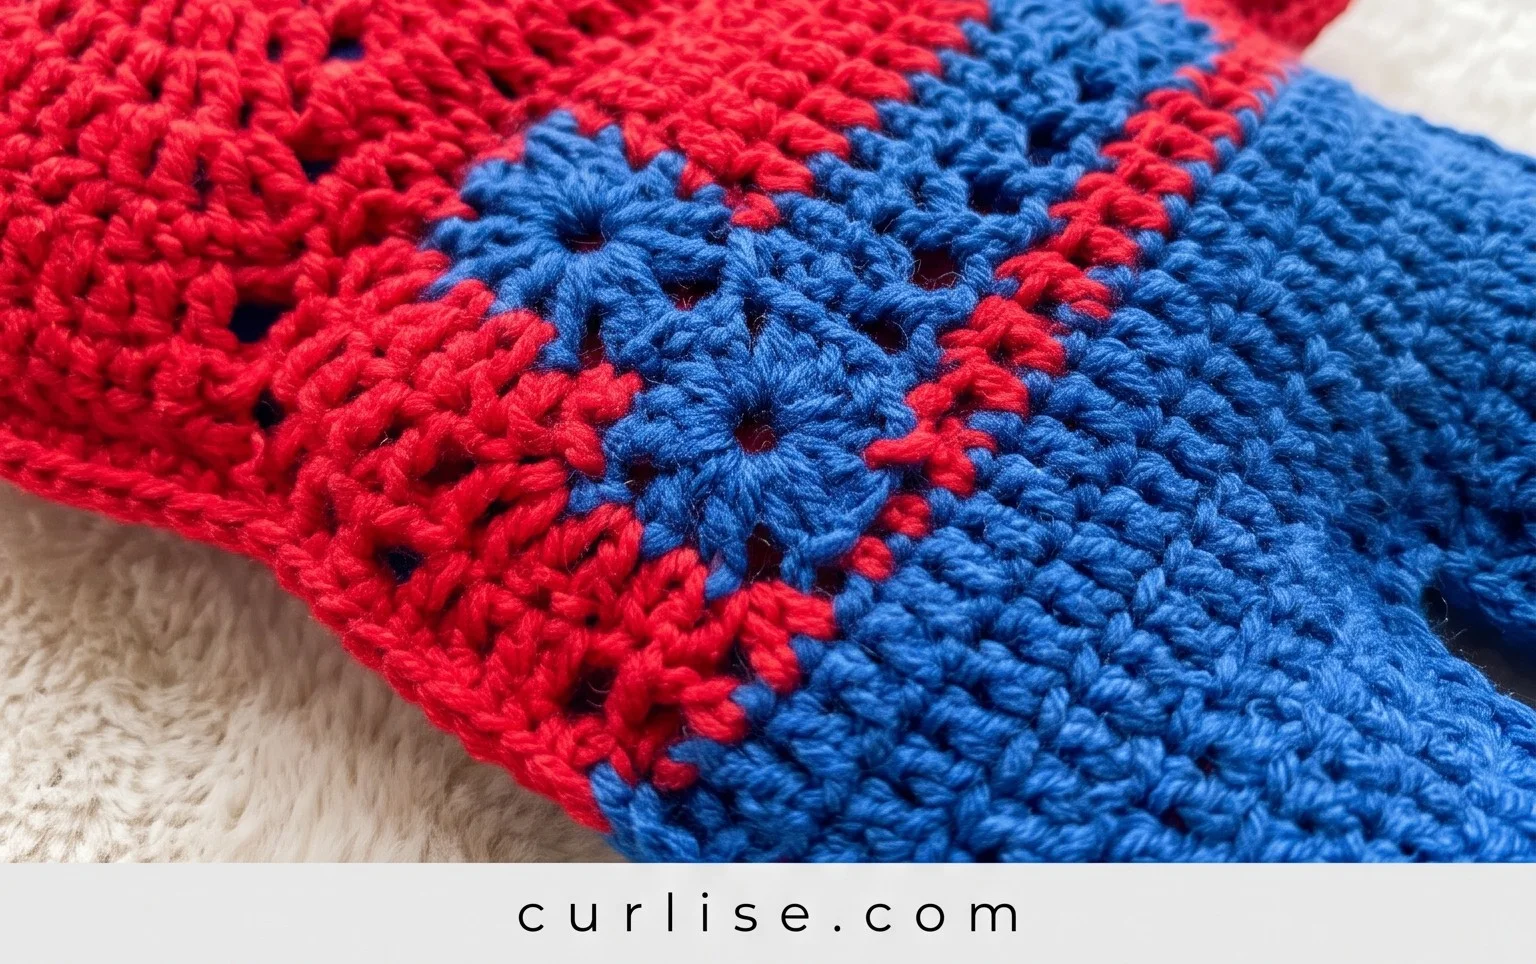
I hope you’ve had as much fun exploring these Super Mario crochet patterns as we’ve had bringing them to you! Whether you’re a seasoned crocheter or just starting out, these patterns offer a fantastic way to combine your love for gaming and crafting. Don’t be shy – grab your hook and yarn and bring these iconic characters to life!
Once your Super Mario creations are complete, we’d absolutely love to see them! Share your amazing finished projects on social media using the hashtag #MarioCrochetCreations so we can all admire your handiwork. Feel free to get creative with color changes or even try combining different elements to create your own unique Mushroom Kingdom characters. And remember, this is just the beginning of your crochet adventure. Dive into our other pattern collections for even more delightful projects!