Hello, fellow yarn lovers! Are you ready to add a touch of autumnal charm to your home or create the most adorable handmade gift? We’re so excited to introduce our brand new Crochet Fox Pumpkin Free Pattern from Winding Road Crochet! Imagine a plump, crocheted pumpkin, nestled amongst a swirl of cozy autumn leaves, and peeking out with the sweetest little fox face! It’s the perfect blend of seasonal delight and woodland whimsy.
This project is an absolute dream for crocheters of all levels, especially if you’re just starting out and looking for a rewarding project. The finished fox pumpkin makes a delightful piece of home decor, a unique gift for a crafty friend, or even a charming addition to your autumn market stall. In this tutorial, you’ll learn simple crochet stitches, how to shape basic amigurumi forms, and some easy embroidery techniques to bring your little fox to life. Grab your hook and some cozy yarn, and let’s create something truly special together!
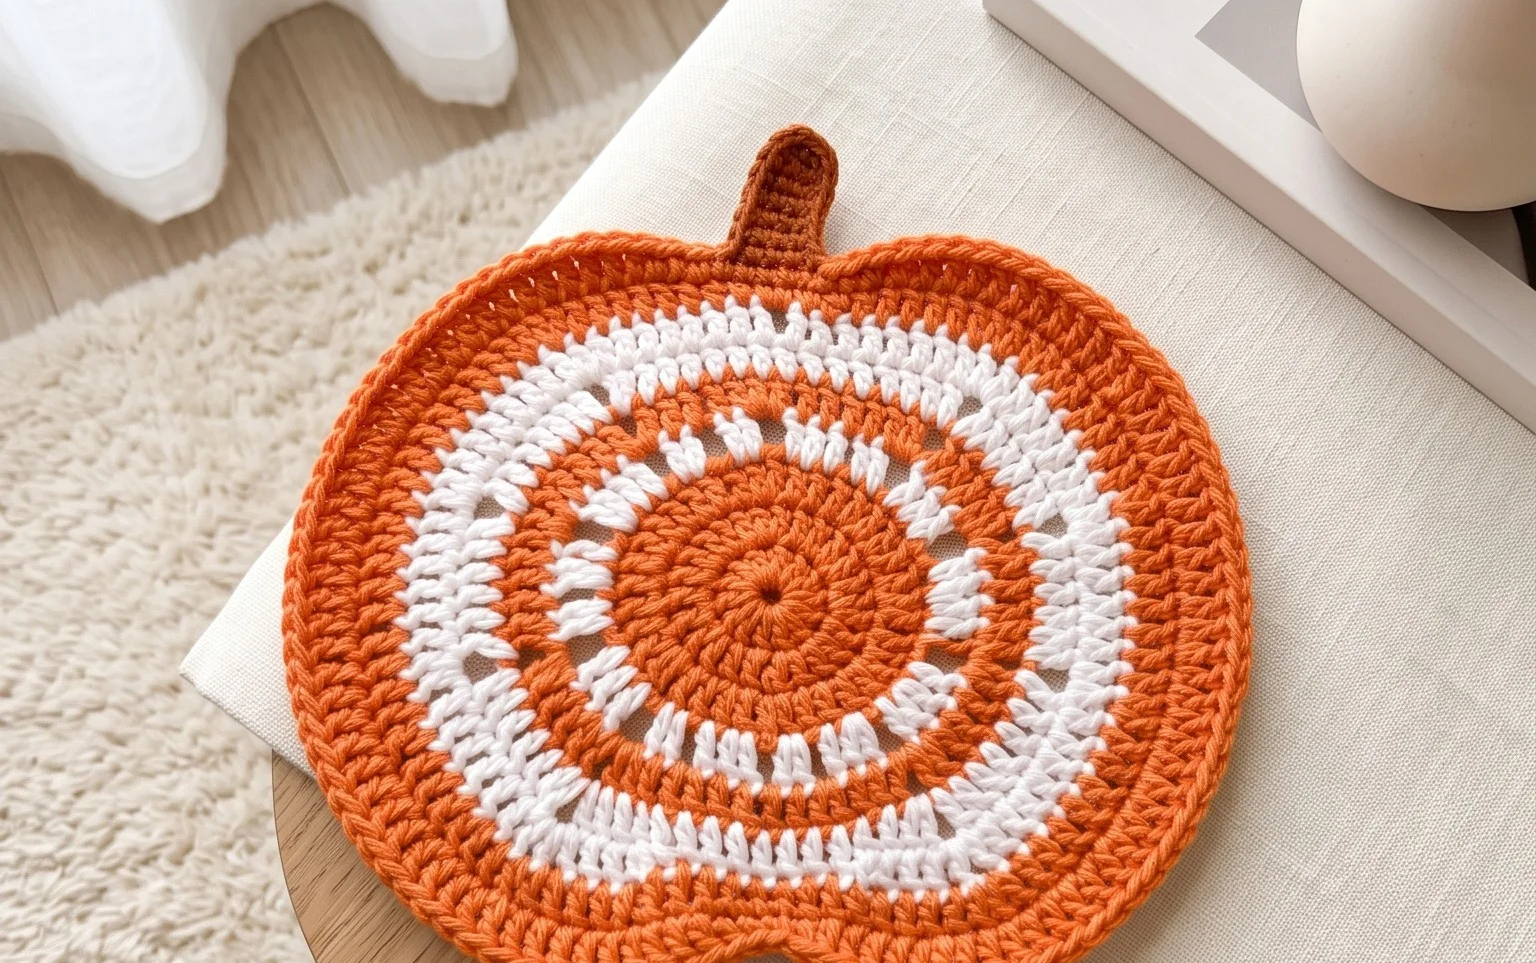
Craft Your Own Adorable Crochet Fox Pumpkin with Winding Road Crochet!
Autumn is in the air, and what better way to celebrate the cozy season than with a delightful crochet project? The “Crochet Fox Pumpkin Free Pattern and Video Tutorial” from Winding Road Crochet is an absolute must-have for any crafter looking to add a touch of whimsical charm to their decor. This pattern is not only incredibly cute but also surprisingly accessible, making it a fantastic project for both seasoned crocheters and those just dipping their toes into the yarny world. Get ready to unleash your inner crafter and create a charming companion that’s perfect for display all fall long!
Your Yarn and Hook Essentials
The beauty of crochet lies in its versatility, and this Fox Pumpkin pattern is no exception. Winding Road Crochet suggests using a medium-weight yarn, often referred to as worsted weight or Aran weight. This is a fantastic choice because it’s readily available in a vast array of colors and works up at a good pace, allowing you to see your creation come to life relatively quickly.
For the main pumpkin body, you’ll likely be reaching for shades of orange, of course! Think warm, rich tones that evoke the spirit of autumn harvests. For the fox elements – the ears, nose, and tail accents – you’ll need a contrasting color. Classic fox colors like a rusty orange, warm brown, or even a creamy beige would be perfect. Don’t forget a touch of black or dark brown for the nose and any embroidered facial features to really bring your fox to life!
As for your hook, a size H (5.0 mm) crochet hook is typically recommended for worsted weight yarn. This size hook will create a nice, firm fabric for your pumpkin and fox details, preventing any unwanted gaps and giving your finished piece a good structure. Always check the yarn label for the manufacturer’s recommended hook size, and feel free to experiment slightly with a hook one size up or down to achieve your preferred fabric density.
Mastering the Stitches: A Gentle Introduction
This pattern is designed to be beginner-friendly, focusing on a few fundamental crochet stitches that are essential for most amigurumi and stuffed projects. You’ll be working primarily with:
The pattern will guide you through each step, and the accompanying video tutorial from Winding Road Crochet is an invaluable resource for visual learners. Seeing how each stitch is executed can make all the difference when you’re starting out.
Tips and Tricks for Beginner Crocheters
Embarking on your first amigurumi project can feel a little daunting, but with these tips, you’ll be well on your way to a successful and enjoyable experience:
Unleash Your Creativity: Customization Ideas
While the pattern provides a clear design, the true magic of crochet is in making it your own! Here are some ideas to personalize your Crochet Fox Pumpkin:
Caring for Your Crochet Creation
Your handmade Crochet Fox Pumpkin is a delicate piece of art, and with a little care, it will bring you joy for seasons to come:
Project Ideas: Beyond the Pumpkin Patch
Once you’ve mastered the Crochet Fox Pumpkin, you’ll be eager to find more ways to use your newfound skills and your adorable creation!
The Winding Road Crochet Fox Pumpkin Free Pattern and Video Tutorial is more than just a crochet pattern; it’s an invitation to embrace the cozy spirit of autumn and create something truly special. So, gather your yarn, grab your hook, and get ready to fall in love with this charming project!
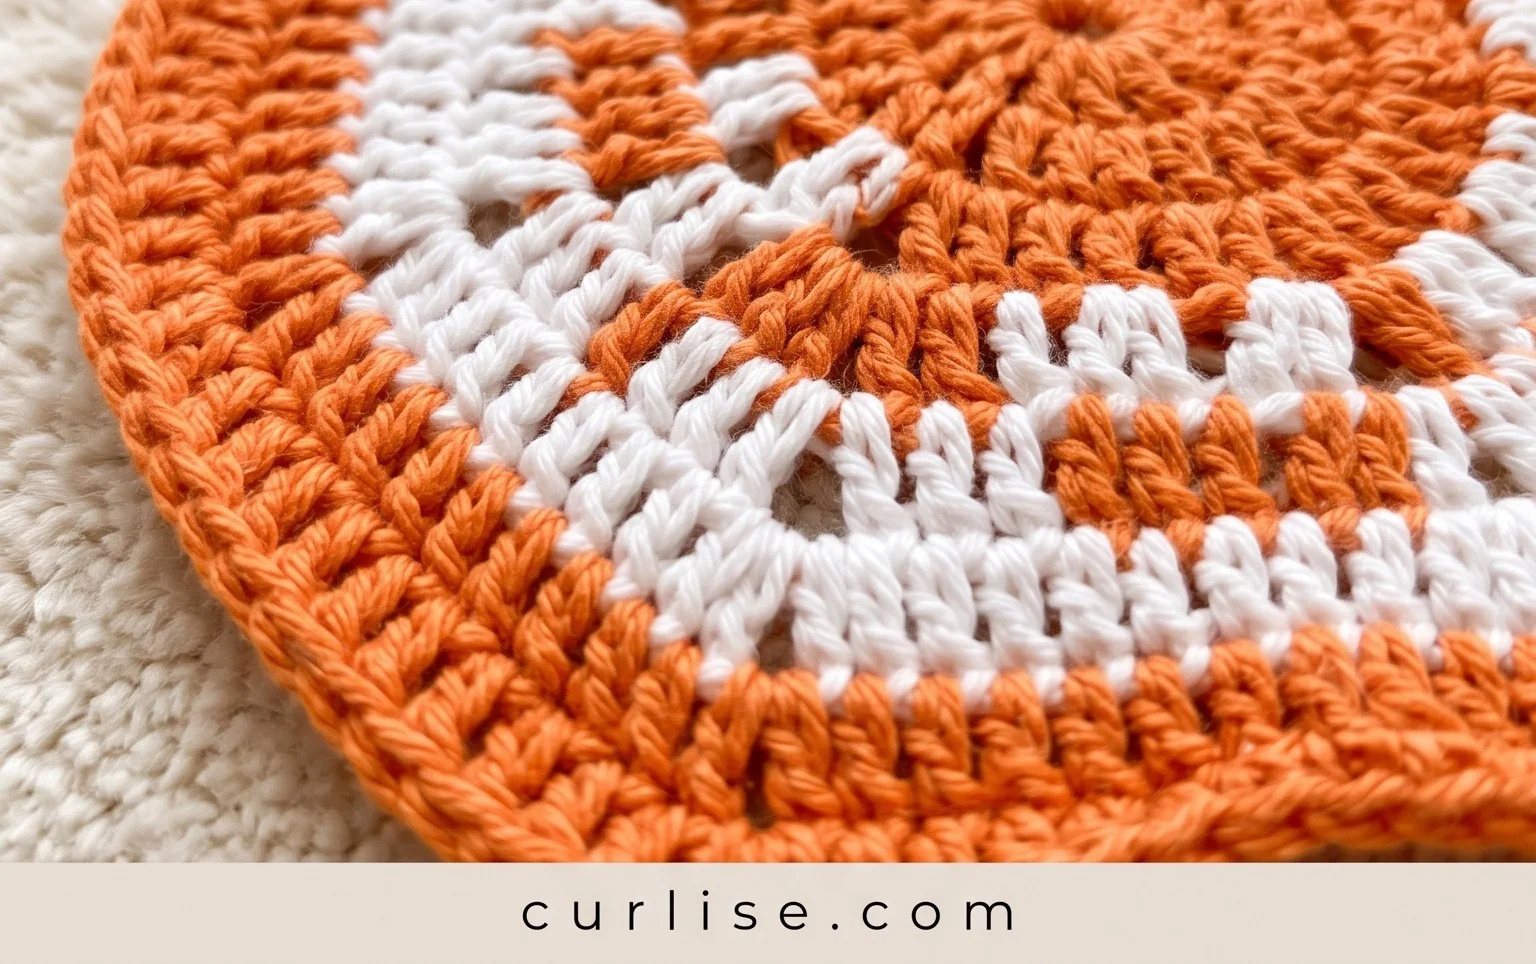
And there you have it! Your very own adorable crochet fox pumpkin, ready to bring a touch of autumn charm to your home. We truly hope you enjoyed creating this cozy companion as much as we enjoyed designing it. Don’t keep this cuteness to yourself – we’d be absolutely delighted to see your finished projects! Tag us on social media using #WindingRoadCrochet so we can all admire your handiwork.
Feeling inspired? Consider experimenting with different yarn colors for your fox or pumpkin, or perhaps adding a little leaf embellishment to the stem. The possibilities are as endless as your creativity! Ready for your next crochet adventure? Explore more delightful patterns right here on Winding Road Crochet and let’s keep those hooks busy!