“`html
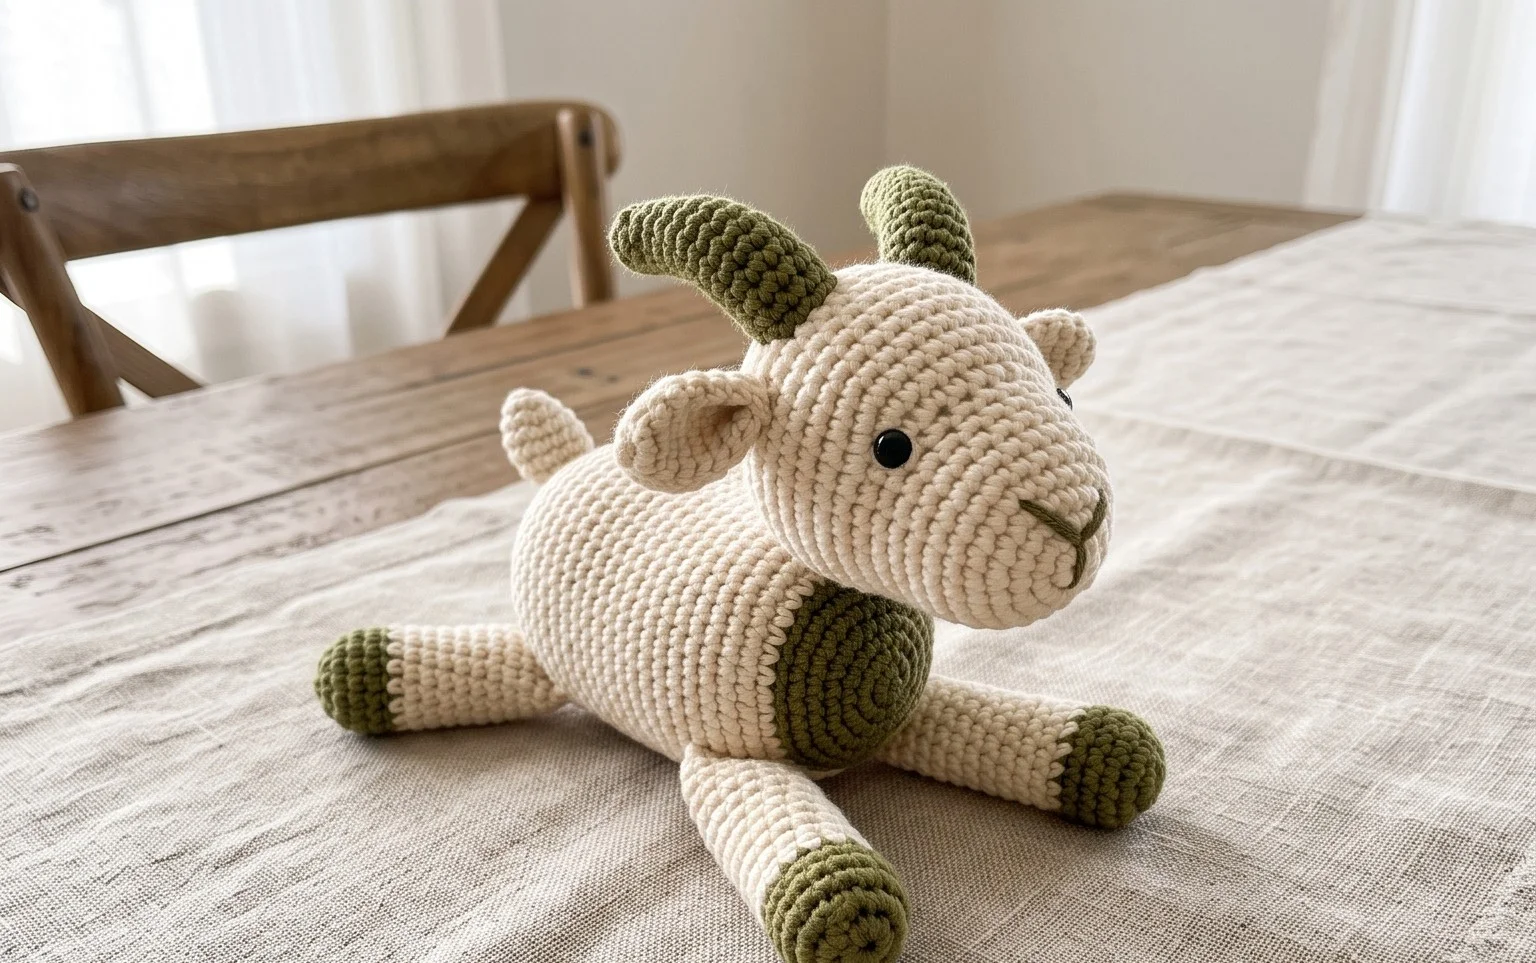
Hello fellow yarn lovers! Are you ready to welcome a little bit of whimsical charm into your life? Today, we’re thrilled to share our adorable Amigurumi Goat free crochet pattern! This sweet little fella, with its fluffy textured wool and charming floppy ears, is just waiting to be brought to life with your hook and some cozy yarn.
Whether you’re just dipping your toes into the delightful world of amigurumi or you’re a seasoned pro looking for a quick and rewarding project, this pattern is perfect for you. It makes an absolutely heartwarming gift for little ones, a delightful addition to a nursery, or even a quirky piece of home decor that’s sure to spark smiles.
Get ready to learn some simple shaping techniques, master the magic of increasing and decreasing, and of course, stitch up some serious cuteness! Let’s get crafting!
“`
## Craft Your Own Adorable Amigurumi Goat: A Free Crochet Pattern Guide
There’s something undeniably charming about amigurumi – those cuddly, crocheted stuffed toys that bring smiles to faces of all ages. And what’s cuter than a fluffy little goat? Whether you’re a seasoned amigurumi artist or just dipping your toes into the world of crochet toys, this free pattern for an Amigurumi Goat is the perfect project to get your hooks busy. In this article, we’ll dive deep into everything you need to know to create your very own woolly friend, from yarn choices to customization ideas. So grab your yarn, your hook, and let’s get crafting!
Choosing Your Yarn and Hook: The Foundation of a Fluffy Friend
The yarn and hook you select will have a significant impact on the look and feel of your finished amigurumi goat. For that classic soft, huggable quality, **worsted weight cotton yarn** is an excellent choice. Cotton is durable, holds its shape well, and is generally hypoallergenic, making it ideal for toys. Look for brands like Lily Sugar ‘n Cream, Bernat Handicrafter, or Lion Brand Comfy Cotton Blend. These often come in a wide array of colors, perfect for creating unique goat designs.
For a slightly fluffier, more textured look, consider a **super bulky chenille yarn**. Brands like Bernat Blanket or Premier Sweet Roll Home Decor are fantastic. Be aware that chenille yarn can be a bit trickier to work with for beginners, as stitches can be harder to see, but the resulting plushness is truly delightful.
The recommended hook size will generally be **smaller than what the yarn label suggests**. This is a crucial amigurumi technique to create tight stitches that prevent stuffing from peeking through. For worsted weight yarn, a **2.75mm (C) to 3.5mm (E)** hook is a good starting point. For super bulky chenille, you might go down to a **6mm (J) or 7mm (K)** hook. Always test your gauge – if you can easily see the holes between your stitches, try a smaller hook.
Mastering the Techniques: Essential Crochet Stitches for Your Goat
This amigurumi goat pattern relies on a few fundamental crochet stitches that, once mastered, open up a world of amigurumi possibilities.
* **Magic Ring (or Magic Circle):** This is the secret to creating seamless, tight circles at the beginning of amigurumi pieces, like the goat’s head and body. It allows you to start with zero holes and then cinch it closed.
* **Single Crochet (sc):** This is the workhorse of amigurumi. It creates a dense fabric that’s perfect for stuffed toys.
* **Increase (inc):** This stitch involves working two single crochets into the same stitch, which is how you expand your amigurumi pieces in a rounded shape.
* **Decrease (dec):** Conversely, this stitch involves working two single crochets together to create a smaller stitch, allowing you to shape and close your amigurumi pieces. The **invisible decrease** is highly recommended for a neater finish. To do this, you’ll insert your hook only into the front loops of the next two stitches, yarn over, pull up a loop, yarn over, and pull through all three loops on your hook.
* **Slip Stitch (sl st):** Used to join rounds or create smooth edges.
You’ll also be working in **continuous rounds**, meaning you don’t join each round with a slip stitch and chain. Instead, you’ll use a **stitch marker** to keep track of the beginning of each round. This technique creates a smooth, seamless fabric.
Tips for Beginners: Crocheting Your First Amigurumi Goat
Don’t be intimidated if you’re new to amigurumi! This pattern is designed to be achievable and rewarding. Here are some tips to help you along the way:
* **Practice the Magic Ring:** Spend a little time practicing just the magic ring until you feel comfortable creating and cinching it. There are tons of video tutorials online that can be incredibly helpful.
* **Use a Stitch Marker:** This is your best friend in amigurumi. Mark the first stitch of every round so you don’t lose your place.
* **Stuff as You Go:** As you work on each piece (head, body, legs, ears), stuff it firmly but not so tightly that you stretch out your stitches. Stuffing in small increments prevents lumps and ensures a well-shaped toy.
* **Don’t Be Afraid to Frog:** “Frogging” is crocheting jargon for undoing your work. If you make a mistake, it’s better to frog a few stitches than to have a wonky piece.
* **Read Through the Pattern First:** Before you even pick up your hook, read the entire pattern from start to finish. This will give you a good overview of the process and any tricky parts.
* **Watch Video Tutorials:** If you get stuck on a particular stitch or technique, YouTube is your best friend! Search for videos on “how to crochet a magic ring,” “how to do an invisible decrease,” or “how to stuff amigurumi.”
Personalize Your Pal: Customizing Your Amigurumi Goat
The beauty of amigurumi patterns is their endless potential for customization! Here are some ideas to make your goat truly one-of-a-kind:
* **Color Combinations:** Embrace the classic white or brown, or get creative with spotted patterns, multi-colored patches, or even rainbow goats! You can use contrasting colors for the ears, horns, or hooves.
* **Horn Styles:** Experiment with the number and shape of horns. You could add more, make them curlier, or even omit them for a more simplified goat.
* **Facial Features:** The pattern will likely include instructions for embroidered eyes and a nose. You can use different colored embroidery floss to change the expression. You could also opt for safety eyes, but ensure they are securely attached for children’s toys.
* **Size Variations:** While this pattern is designed for a specific yarn and hook size, you can easily adjust the size by using a thicker or thinner yarn. A bulkier yarn with a larger hook will result in a larger goat, and a finer yarn with a smaller hook will create a miniature version.
* **Accessorize!** Crocheting tiny hats, scarves, or even a little basket for your goat to carry can add a delightful touch.
Caring for Your Crochet Creation: Keeping Your Goat Looking Its Best
Your handmade amigurumi goat is a labor of love, and with a little care, it will bring joy for years to come.
* **Washing:** For cotton yarns, hand washing is generally recommended. Fill a basin with cool water and a small amount of mild detergent. Gently swish the goat around and then rinse thoroughly. For chenille yarns, spot cleaning is often best to avoid matting.
* **Drying:** **Never put your amigurumi in the dryer!** The heat can melt synthetic fibers and damage the stuffing. Gently squeeze out excess water (don’t wring!) and then roll the goat in a clean towel to absorb more moisture. Reshape the toy and allow it to air dry completely, preferably on a flat surface away from direct sunlight.
* **Loose Threads:** If you notice any loose threads, gently weave them back into the fabric with your crochet hook or a yarn needle.
Beyond the Barnyard: Project Ideas for Your Amigurumi Goat
Once you’ve mastered this pattern, your amigurumi goat can embark on many adventures!
* **Gifts:** A handmade amigurumi goat makes an incredibly thoughtful and personal gift for birthdays, baby showers, or holidays.
* **Decorations:** Place your goat on a shelf, a mantelpiece, or in a nursery for a touch of whimsical charm.
* **Playtime Pal:** This little goat is ready for imaginary adventures! It’s perfect for imaginative play for children.
* **Photography Prop:** If you’re a photographer, amigurumi toys can add a delightful element to themed shoots.
* **Craft Fair Star:** Sell your adorable creations at local craft fairs or online marketplaces.
With this free pattern and a little bit of yarn and crochet magic, you’ll soon have a charming amigurumi goat ready to be loved. Happy crocheting!
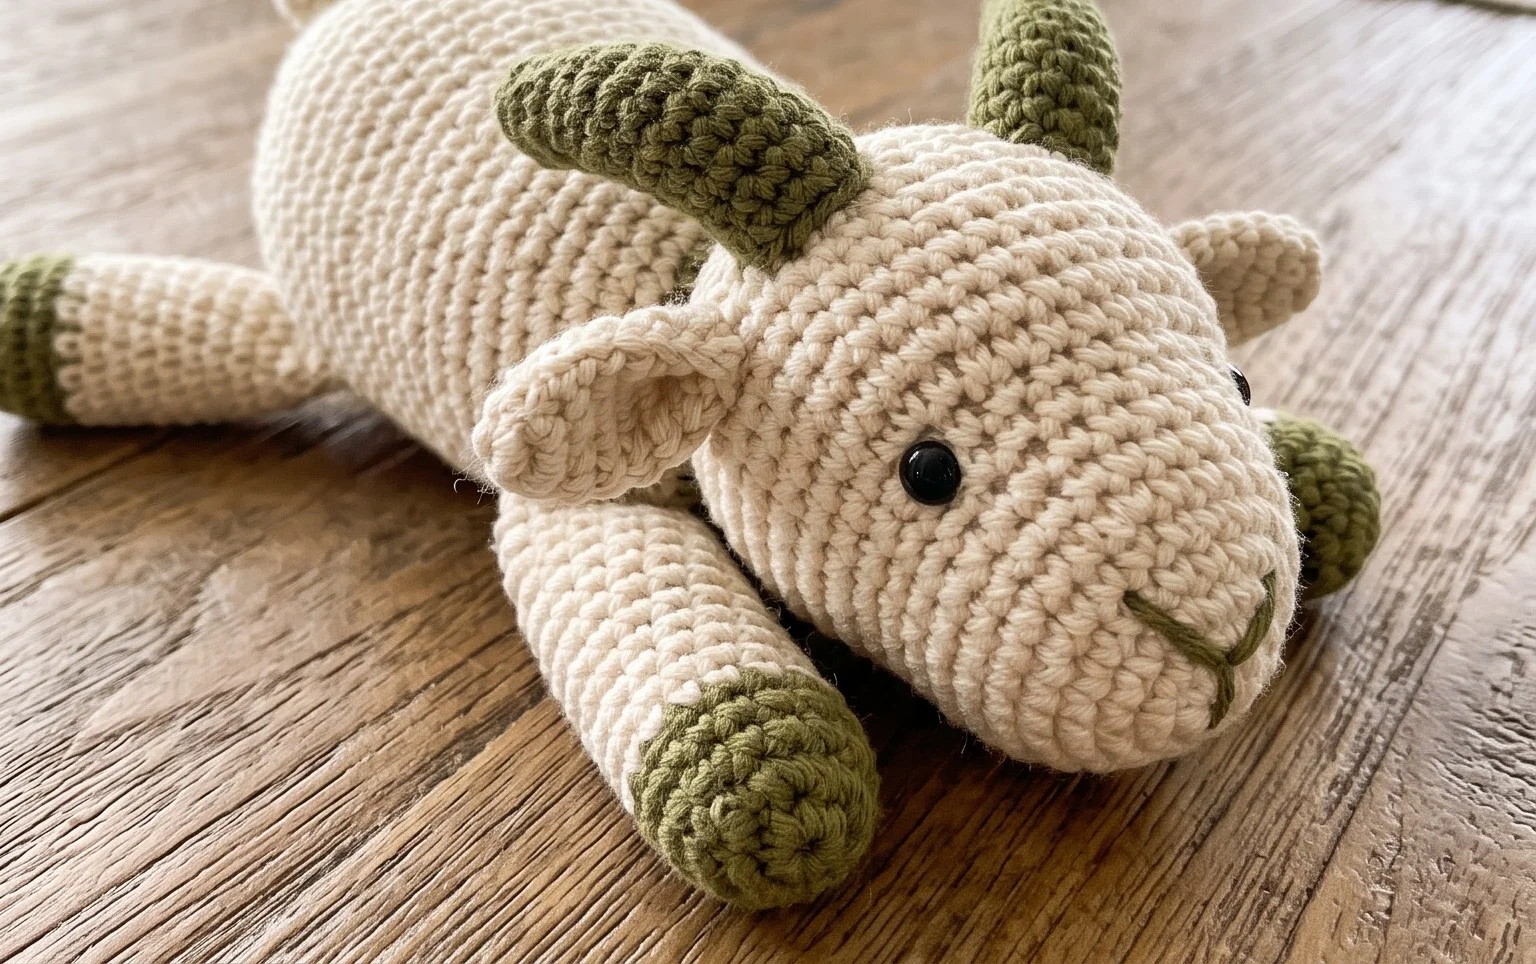
I hope you’ve enjoyed this free amigurumi goat pattern and are feeling inspired to grab your crochet hook and bring this adorable creature to life! This pattern is perfect for both beginners and experienced crocheters, and I can’t wait to see your finished goats. Don’t forget to share your creations on social media using #AmigurumiGoat and tag us – we love seeing your talent!
Feel free to get creative with yarn colors, add a little bell, or even give your goat a fluffy texture! If you had fun with this pattern, be sure to explore our other free crochet patterns for even more amigurumi adventures.