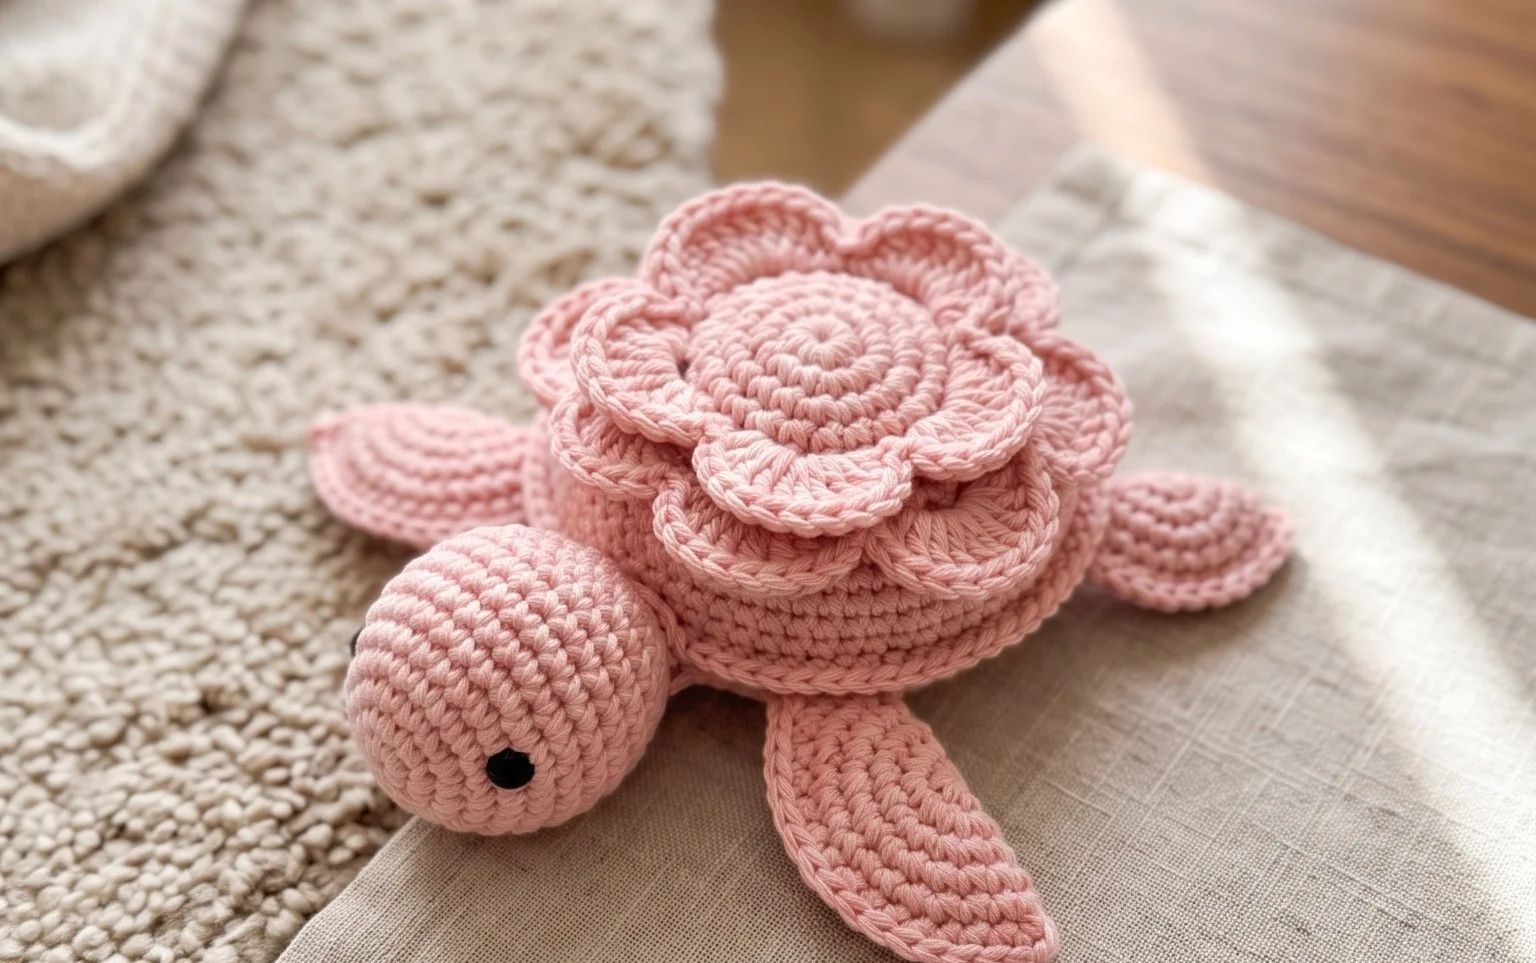
Hello fellow yarn lovers and crafty adventurers! Are you ready to dive into a world of adorable, shell-wearing critters? Today, we’re absolutely thrilled to introduce you to our delightful collection: 8 Flower Turtle Amigurumi Crochet Patterns! Imagine these sweet little turtles, each sporting a unique and vibrant flower crown, peeking out from your shelves or nestled in the hands of a loved one. They’re not just toys; they’re little bursts of sunshine and charm.
Whether you’re just dipping your toes into the magical world of amigurumi or you’re a seasoned crocheter looking for your next heartwarming project, these patterns are perfect for you! They make the most precious gifts for birthdays, baby showers, or just because. Plus, their cheerful presence will add a touch of handmade whimsy to any room. Get ready to learn simple stitches, fun colorwork, and how to bring these darling flower turtles to life, one loop at a time!
Dive into Delightful Crochet: Your Guide to the 8 Flower Turtle Amigurumi Crochet Patterns
Get ready to embark on a whimsical crochet adventure! We’re diving deep into the charming world of amigurumi with these 8 Flower Turtle crochet patterns. Imagine a collection of adorable, bloom-adorned turtles, each a unique testament to your crafting skills. Whether you’re a seasoned crocheter looking for a delightful new project or a curious beginner eager to try something fun, these patterns offer a rewarding and incredibly cute outcome. Let’s unspool the magic and explore everything you need to know to bring these little shelled wonders to life!
Choosing Your Perfect Yarn and Hook for Blooming Beauties
The yarn you choose is the soul of your amigurumi, and for these flower turtles, the possibilities are as vibrant as a summer garden!
For most amigurumi projects, especially those destined to be cuddled, a **worsted weight (Category 4) yarn** made of **acrylic or cotton blends** is your best friend. Acrylic is durable, washable, and comes in an astonishing array of colors, making it perfect for creating a rainbow of turtles and flowers. Cotton blends offer a lovely stitch definition and a slightly more matte finish, which can be beautiful for certain color palettes. For a softer, more huggable turtle, consider a **plush or chenille yarn** – just be prepared for a bit more challenge as these yarns can be slippery! Always check the yarn label for specific care instructions.
Your hook size will largely depend on the yarn you select. A general rule of thumb for amigurumi is to use a hook **one size smaller** than what’s recommended on the yarn label. This creates a tighter fabric, preventing the stuffing from peeking through and giving your turtles that firm, huggable shape.
- Recommended Yarn Weights: Worsted weight (Category 4) is ideal for beginners. DK weight (Category 3) will result in smaller, daintier turtles. Plush/Chenille yarns will create larger, super-soft friends.
- Recommended Hook Sizes: For worsted weight acrylic, a G/6 (4.0mm) or H/8 (5.0mm) hook is a great starting point. Adjust based on your tension and the yarn. For smaller yarns or finer details, you might go down to a E/4 (3.5mm) or F/5 (3.75mm).
Mastering the Stitches: Your Amigurumi Toolkit
These flower turtle patterns are designed to be accessible, utilizing fundamental crochet stitches that are essential for amigurumi creation.
The cornerstone of almost all amigurumi is the **single crochet stitch (sc)**. This stitch creates a dense, sturdy fabric perfect for stuffed toys. You’ll be working mostly in **continuous rounds**, which means no joining at the end of each round. This technique creates a seamless surface and helps maintain that smooth, spherical shape that is characteristic of amigurumi.
Beyond the single crochet, you’ll likely encounter these important techniques:
- Magic Ring (or Magic Circle): This is the secret to starting your amigurumi rounds with no visible hole. It creates a perfectly closed center for the head, body, and shell.
- Increase (inc): To make your amigurumi grow, you’ll work two single crochets into the same stitch. This is how you’ll create those lovely rounded shapes.
- Decrease (dec): To make your amigurumi smaller or close off openings, you’ll work two single crochets together. The invisible decrease (invdec) is highly recommended for amigurumi as it leaves a neater finish than a standard decrease.
- Slip Stitch (sl st): Used for joining rounds (if the pattern calls for it, though continuous rounds are more common for amigurumi) or for creating neat edges.
- Chain (ch): Used to start rows or to create decorative elements like the flower petals.
- Stitch Marker: Absolutely essential for keeping track of the beginning of your rounds when working continuously.
- Yarn Needle: For weaving in ends and for sewing pieces together securely.
- Safety Eyes: These are usually inserted between specific rounds to give your turtles their adorable eyes.
Tips for Beginner Amigurumi Crafters
Embarking on your first amigurumi project can feel a little daunting, but with a few key tips, you’ll be creating charming turtles in no time!
- Tension is Key: As mentioned, a tighter tension is crucial for amigurumi. If you find your stitches too loose, try going down a hook size. Practicing a few rounds of single crochet can help you find your sweet spot.
- Embrace the Magic Ring: Don’t be intimidated by the magic ring! Watch a few video tutorials – seeing it done visually makes a world of difference. It’s a game-changer for clean amigurumi starts.
- Master the Invisible Decrease: This stitch makes a significant difference in the neatness of your amigurumi. Seek out a tutorial to perfect this technique.
- Use a Stitch Marker Religiously: Seriously, don’t skip this! It’s incredibly easy to lose your place in continuous rounds, and a stitch marker will save you from frogging (ripping out your work) many rows.
- Stuffing Strategically: Start stuffing as you crochet, especially for smaller pieces. Use a stuffing tool or the blunt end of your crochet hook to push stuffing into nooks and crannies, ensuring an even, firm shape. Avoid overstuffing, which can distort your stitches.
- Read the Pattern Thoroughly: Before you even pick up your hook, read through the entire pattern. This helps you understand the flow and identify any stitches or techniques you might need to look up.
- Don’t Fear Mistakes: Every crocheter makes mistakes! The beauty of crochet is that you can usually frog (undo) your work and start again. Consider these learning opportunities.
Unleash Your Creativity: Customizing Your Flower Turtles
The joy of amigurumi lies in its endless possibilities for personalization. These flower turtle patterns are a fantastic canvas for your unique style!
Color Combinations: The most obvious way to customize is through color! Think about the turtle’s body and shell colors. Do you want earthy tones for a natural look, or bright, cheerful colors for a playful vibe? Then comes the flowers! You can create a single statement flower or a bouquet of blooms. Consider contrasting colors for the petals and the center, or keep it monochromatic for a sophisticated feel.
- Turtle Body: Greens, browns, blues, even purples or pinks!
- Turtle Shell: Complementary or contrasting colors to the body.
- Flower Petals: Reds, yellows, oranges, pinks, whites, purples – the sky’s the limit!
- Flower Centers: Yellow, white, black, or even a contrasting color to the petals.
Size Variations: The patterns themselves might be designed for a specific size, but you can easily adjust it:
- Smaller Turtles: Use a finer weight yarn (like sport or DK weight) and a smaller hook.
- Larger Turtles: Use a bulkier yarn (like bulky or super bulky weight) and a larger hook. The number of rounds might also need slight adjustments to maintain proportional shapes.
Flower Embellishments: Don’t stop at just the crocheted flowers! You can add embroidered details, small beads for the flower centers, or even tiny buttons for a unique touch.
Caring for Your Cherished Crocheted Friends
Your handmade flower turtles are designed to be loved and cherished for years to come. Proper care will ensure they remain beautiful.
Most amigurumi made with acrylic yarn are wonderfully easy to care for. For gentle cleaning:
- Hand Wash Recommended: The best and safest method is to hand wash your turtles in cool water with a mild detergent. Gently squeeze out excess water without wringing.
- Machine Wash (with caution): If the yarn is 100% acrylic and the pattern is well-made (tight stitches, secure safety eyes), you can machine wash on a delicate cycle in a mesh laundry bag. Always use cold water and a mild detergent.
- Air Dry: Never put amigurumi in the dryer, as the heat can melt the fibers and damage the shape. Lay your turtles flat on a clean towel in a well-ventilated area to air dry. Reshape them gently as they dry.
- Spot Clean: For small spills or marks, you can often spot clean with a damp cloth and a tiny bit of mild soap.
- Safety Eyes: If your turtles have safety eyes, ensure they are firmly attached. If they become loose, re-secure them as soon as possible to prevent a choking hazard, especially if the toy will be given to a child.
Project Ideas: Beyond Just Cute Companions
These adorable flower turtles are more than just toys; they’re versatile creations with a multitude of uses!
- Gifts Galore: They make the most heartwarming gifts for birthdays, baby showers, holidays, or just because! A handmade gift speaks volumes of love and effort.
- Desk Buddies & Decor: Brighten up your workspace or home decor with these cheerful little characters. They add a pop of color and personality to any shelf or desk.
- Playtime Pals: Of course, they’re perfect companions for imaginative play for children. Their soft texture and friendly faces are sure to be a hit.
- Keychains & Bag Charms: Using a smaller hook and yarn, you can create miniature versions to adorn your keys or attach to your favorite bag.
- Sensory Play Toys: For babies and toddlers, the different textures of yarn can be engaging. Ensure all parts are securely fastened if creating for very young children.
- Charity Creations: Consider donating your finished turtles to children’s hospitals, shelters, or other charitable organizations. A handmade item can bring so much joy to someone in need.
These 8 Flower Turtle Amigurumi Crochet Patterns are a gateway to hours of creative enjoyment and the satisfaction of crafting something truly special. So, gather your yarn, pick up your hook, and let the blooming fun begin!
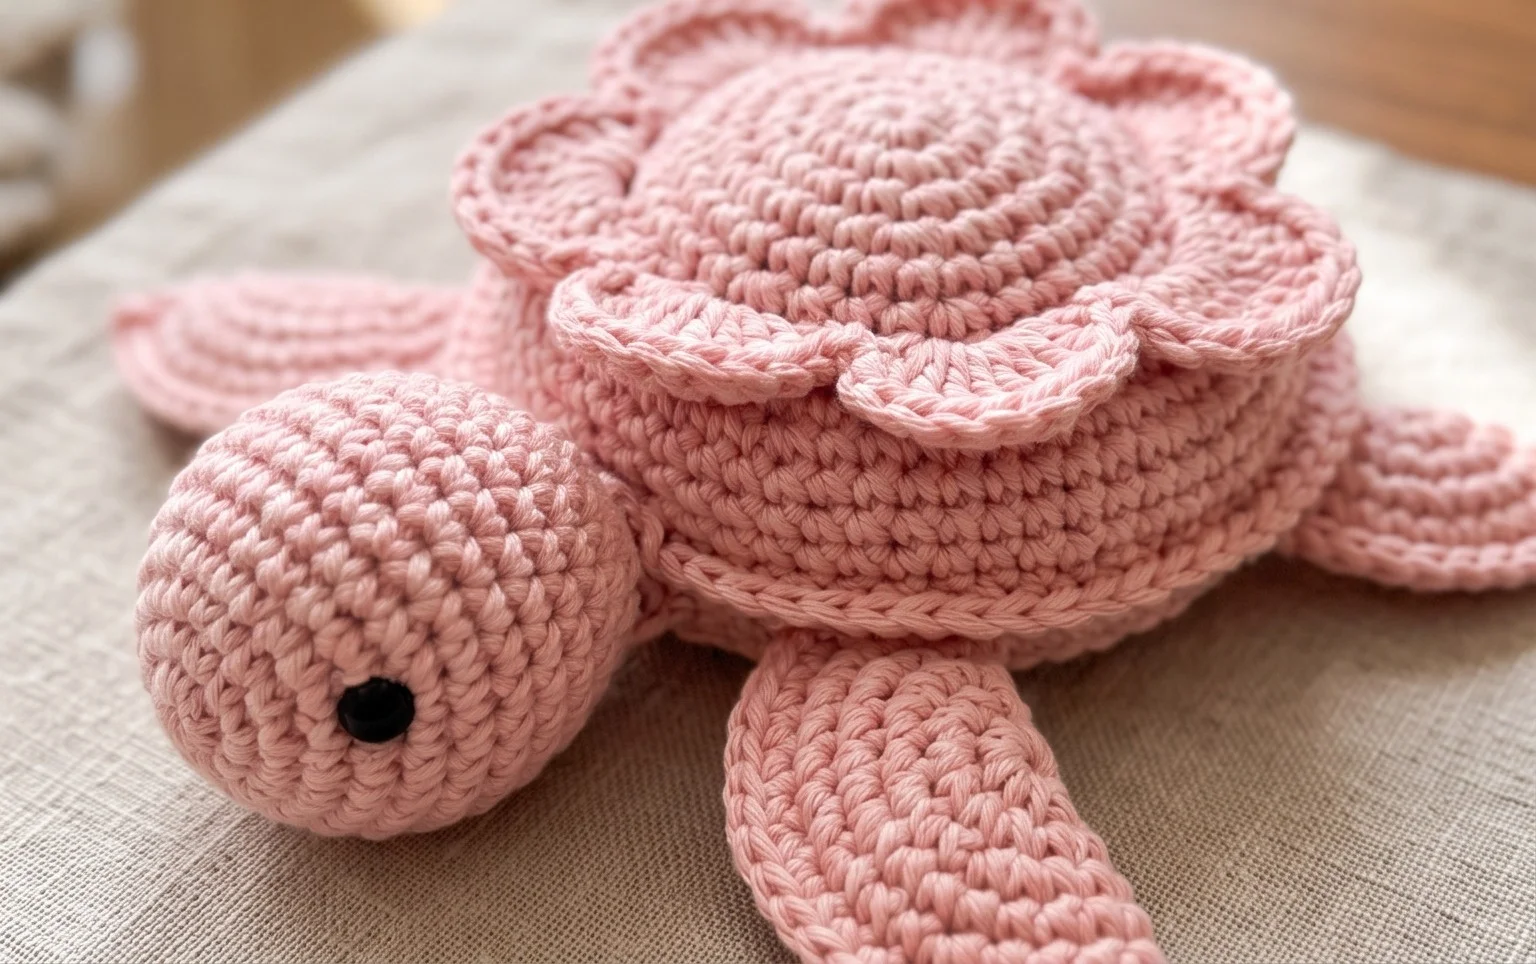
We hope these 8 adorable Flower Turtle Amigurumi crochet patterns have sparked your creativity and filled you with a desire to stitch! Whether you’re a seasoned crocheter or just starting your amigurumi journey, these charming designs are perfect for creating delightful little companions. Don’t forget to share your finished floral friends on social media using our hashtag – we can’t wait to see your unique creations!
Feel free to experiment with different yarn colors, flower embellishments, and even add tiny accessories. The possibilities are endless! And when you’re ready for your next crochet adventure, be sure to explore our other pattern collections. Happy crocheting!